Direct answer
Install and verify Codex CLI and CodeNodex CLI, then write the Codex configuration without placing the API key in shell history.
What this guide helps you solve
Install Codex CLI and automate configuration via CodeNodex CLI
Choose an official installation method
Codex CLI is a coding agent that runs in your local terminal. Before installing it, confirm that the current user can write to the target directory and prefer an installation method the team can update consistently.
Use the official installation script for a standalone install, or use npm or Homebrew if that package manager already controls developer tooling on the machine. Keep only one active installation so PATH does not resolve an older executable.
curl -fsSL https://chatgpt.com/codex/install.sh | shnpm install -g @openai/codex
# or
brew install --cask codexpowershell -ExecutionPolicy ByPass -c "irm https://chatgpt.com/codex/install.ps1 | iex"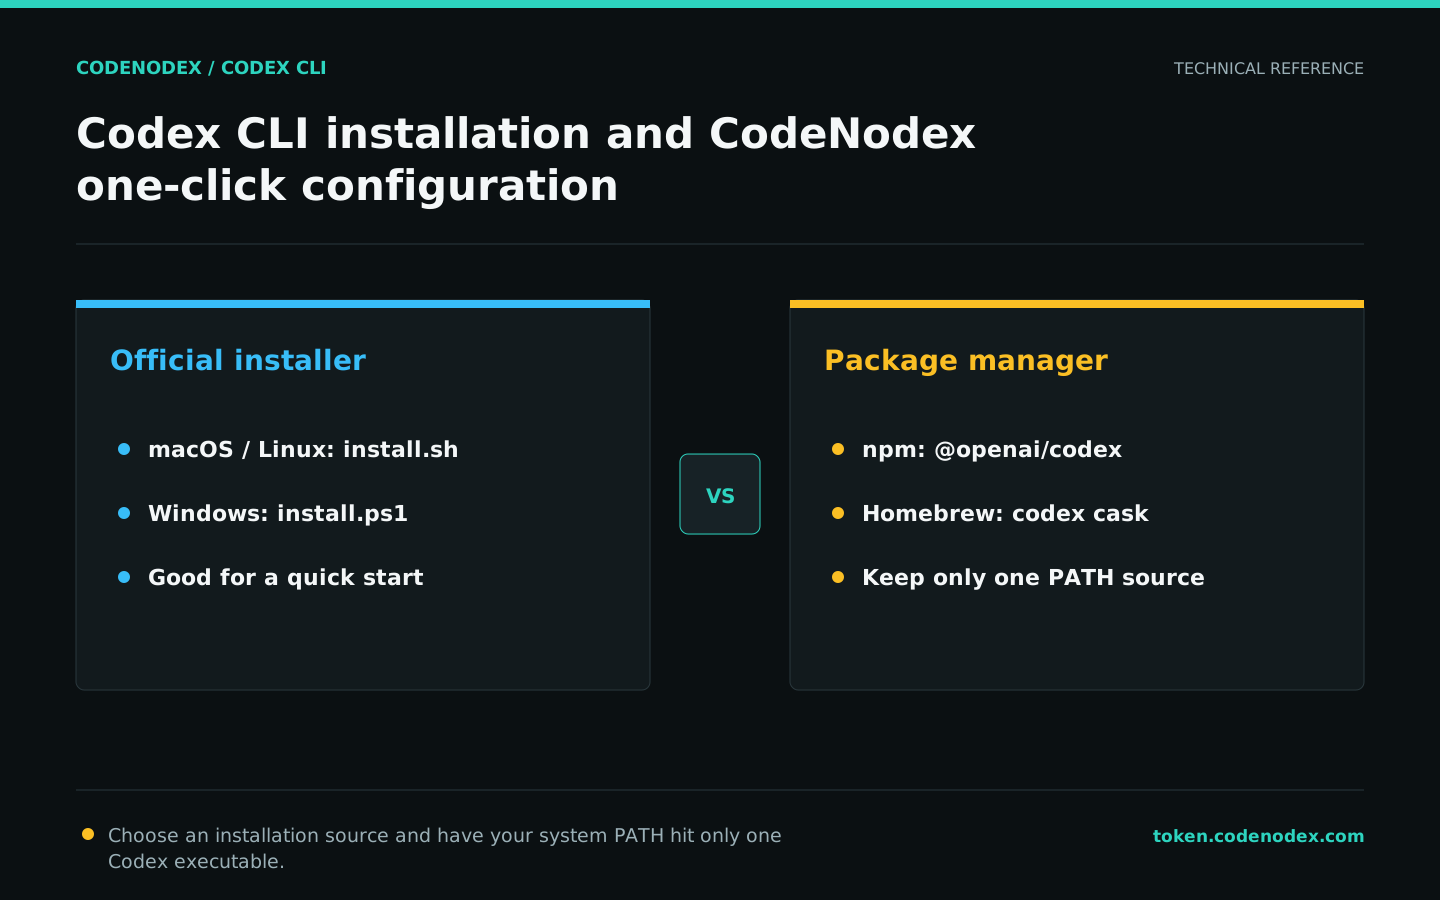
Verify the binary before configuring an account
Installation and configuration are separate steps. Check the version, help and local diagnostics first so PATH issues remain distinct from authentication failures. The following read-only checks do not modify project files.
If the codex command is unavailable, restart the terminal and try again. If it still fails, confirm that the package manager's bin directory is on PATH and check for an older executable with the same name.
command -v codex
codex --version
codex --help
codex doctor --summary
Install CodeNodex CLI
The CodeNodex installer downloads the release for the current operating system and architecture and verifies its SHA256 checksum. The CLI validates the API key before writing configuration and never writes login passwords or API keys into the project repository.
The Unix installer writes to /usr/local/bin when that directory is writable and otherwise uses a user directory. On Windows it uses the local application data directory by default.
curl -fsSL https://token.codenodex.com/cli/install.sh | bashiex "& { $(irm https://token.codenodex.com/cli/install.ps1) }"codenodex version
codenodex --helpLog in and configure Codex
Existing CodeNodex users can run codenodex login. The CLI lists account keys, validates the selected key, and writes $CODEX_HOME/config.toml and auth.json. If CODEX_HOME is unset, it uses ~/.codex/.
The merge retains existing providers, project settings, and fields not managed by the CLI; it stops and rolls back if the target file cannot be parsed, is a symbolic link, or fails to be written midway.
codenodex login -o https://token.codenodex.com
codenodex keys
codenodex setup --client codexConfigure non-interactively without an account login
Automated environments or sites with their own user authentication can supply an API key directly. Silent input keeps the key out of shell history, but --key still places the value in the process arguments, where privileged processes on the same machine may observe it. Prefer account login and interactive key selection for long-term use.
The platform must match the API key's protocol; CodeNodex configures Codex with the openai platform. The CLI does not write any files if validation fails.
read -rsp "CodeNodex API Key: " CNX_KEY && printf "\n"
codenodex setup -o https://token.codenodex.com --key "$CNX_KEY" --platform openai --client codex -y
unset CNX_KEYVerify the installation and configuration
Finally, check CLI diagnostics, login status and one read-only task. Ask that task to inspect the repository and propose a plan so you can verify the model, provider and working directory without changing code.
Move to a write-enabled workflow only after the read-only task succeeds. This sequence makes it easier to distinguish connection failures from permission-policy failures.
codex doctor --summary
codex login status
codex -C . -s read-only "Summarize this repository technology stack, test entry points, and current Git status. Do not modify files."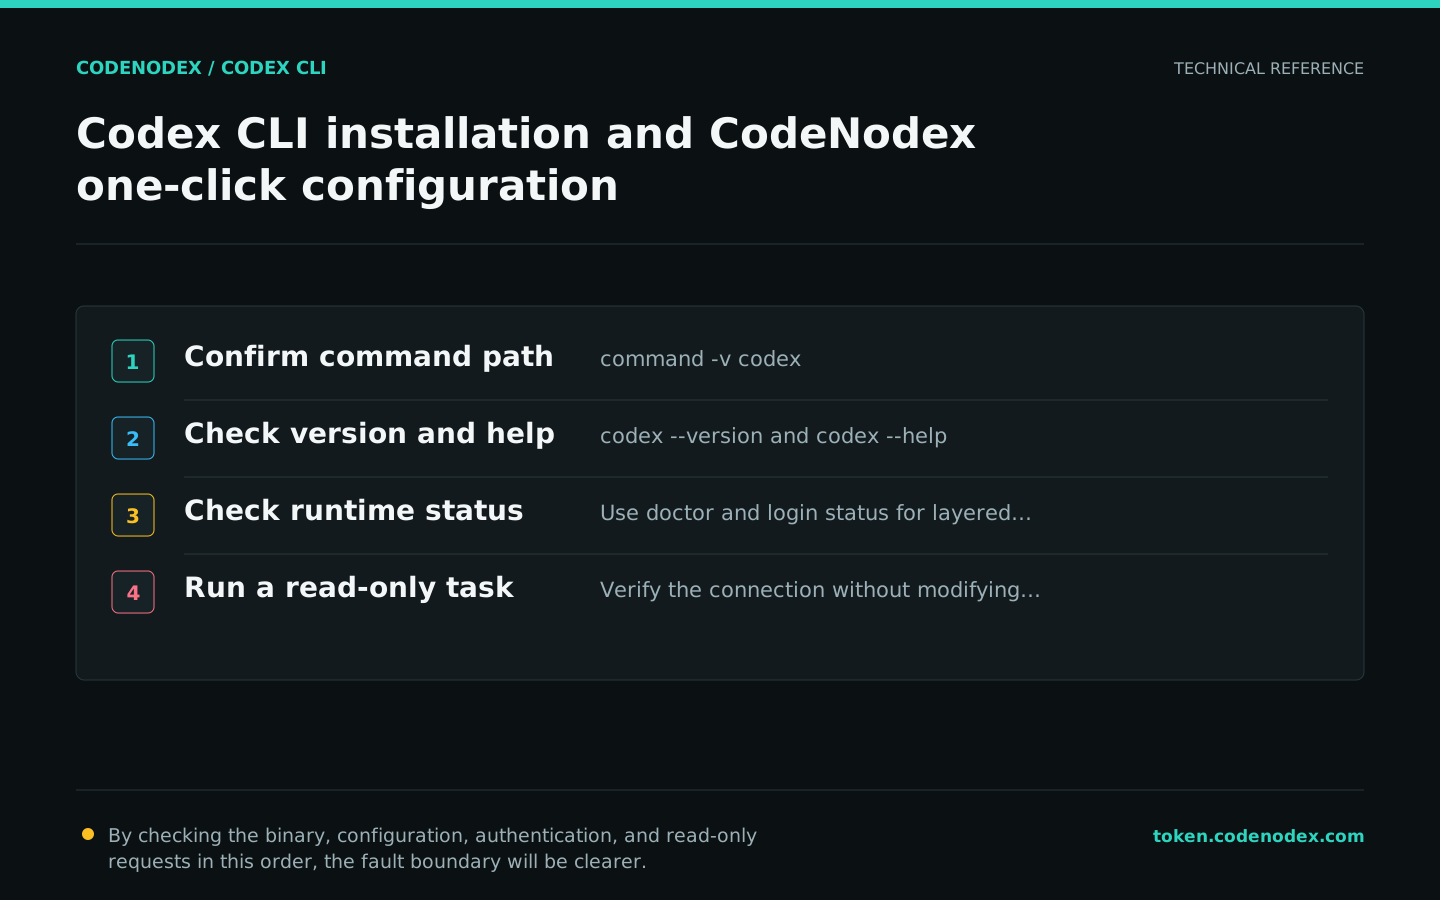
Official sources and verification scope
This guide is based on public official documentation. Commands and configuration may change between client versions, so verify the linked sources before use.
View documentation scope